Quick answer: for everyday visibility, enlarge and recolor the pointer in Settings. To find it quickly, turn on “show location of pointer when I press Ctrl”. To show clicks to an audience, use a click highlighter such as PowerToys Mouse Highlighter, or a presentation pointer like PointerStick.
1. Make the pointer bigger and colorful (built in)
Windows 11: open Settings (Win + I) → Accessibility → Mouse pointer and touch. Choose a Mouse pointer style (white, black, inverted, or custom, which lets you pick any color) and drag the Size slider up.
Windows 10: Settings → Ease of Access → Mouse pointer (called “Cursor & pointer” on some versions) has the same size and color options.
A bright custom color like lime or magenta at size 3–5 is a big improvement for daily use. It doesn't show clicks, though, and on a projector even a large arrow is still just an arrow.
2. Press Ctrl to find your pointer (built in)
Open the classic Mouse Properties: Settings → Bluetooth & devices → Mouse → Additional mouse settings (or search “mouse settings” in the Start menu). On the Pointer Options tab, tick Show location of pointer when I press the CTRL key. Now tapping Ctrl draws shrinking circles around the cursor.
The same tab has Display pointer trails, which leaves a short trail of ghost cursors behind the pointer. It helps some people track movement, but it can look glitchy in recordings.
3. Microsoft PowerToys mouse utilities (free)
Microsoft's free PowerToys app includes a group of Mouse utilities:
- Find My Mouse: dims the screen and spotlights the pointer (by default, press the left Ctrl key twice).
- Mouse Highlighter: draws colored circles where you click, toggled with a shortcut (by default Win + Shift + H). This is a solid free way to show clicks in recordings.
- Mouse Pointer Crosshairs: draws crosshairs centered on the pointer, useful for precise alignment work.
Shortcuts can be changed in PowerToys settings, and defaults may change between versions.
4. Cursor effects in your screen recorder
Many screen recording and editing tools can enlarge the cursor or add click animations, either while recording or in the editor afterwards. If your recorder has this, it's worth turning on for tutorials. The trade-off is that the effect only exists in that one tool: it won't help during a live call or presentation.
5. Replace the cursor with a presentation pointer: PointerStick
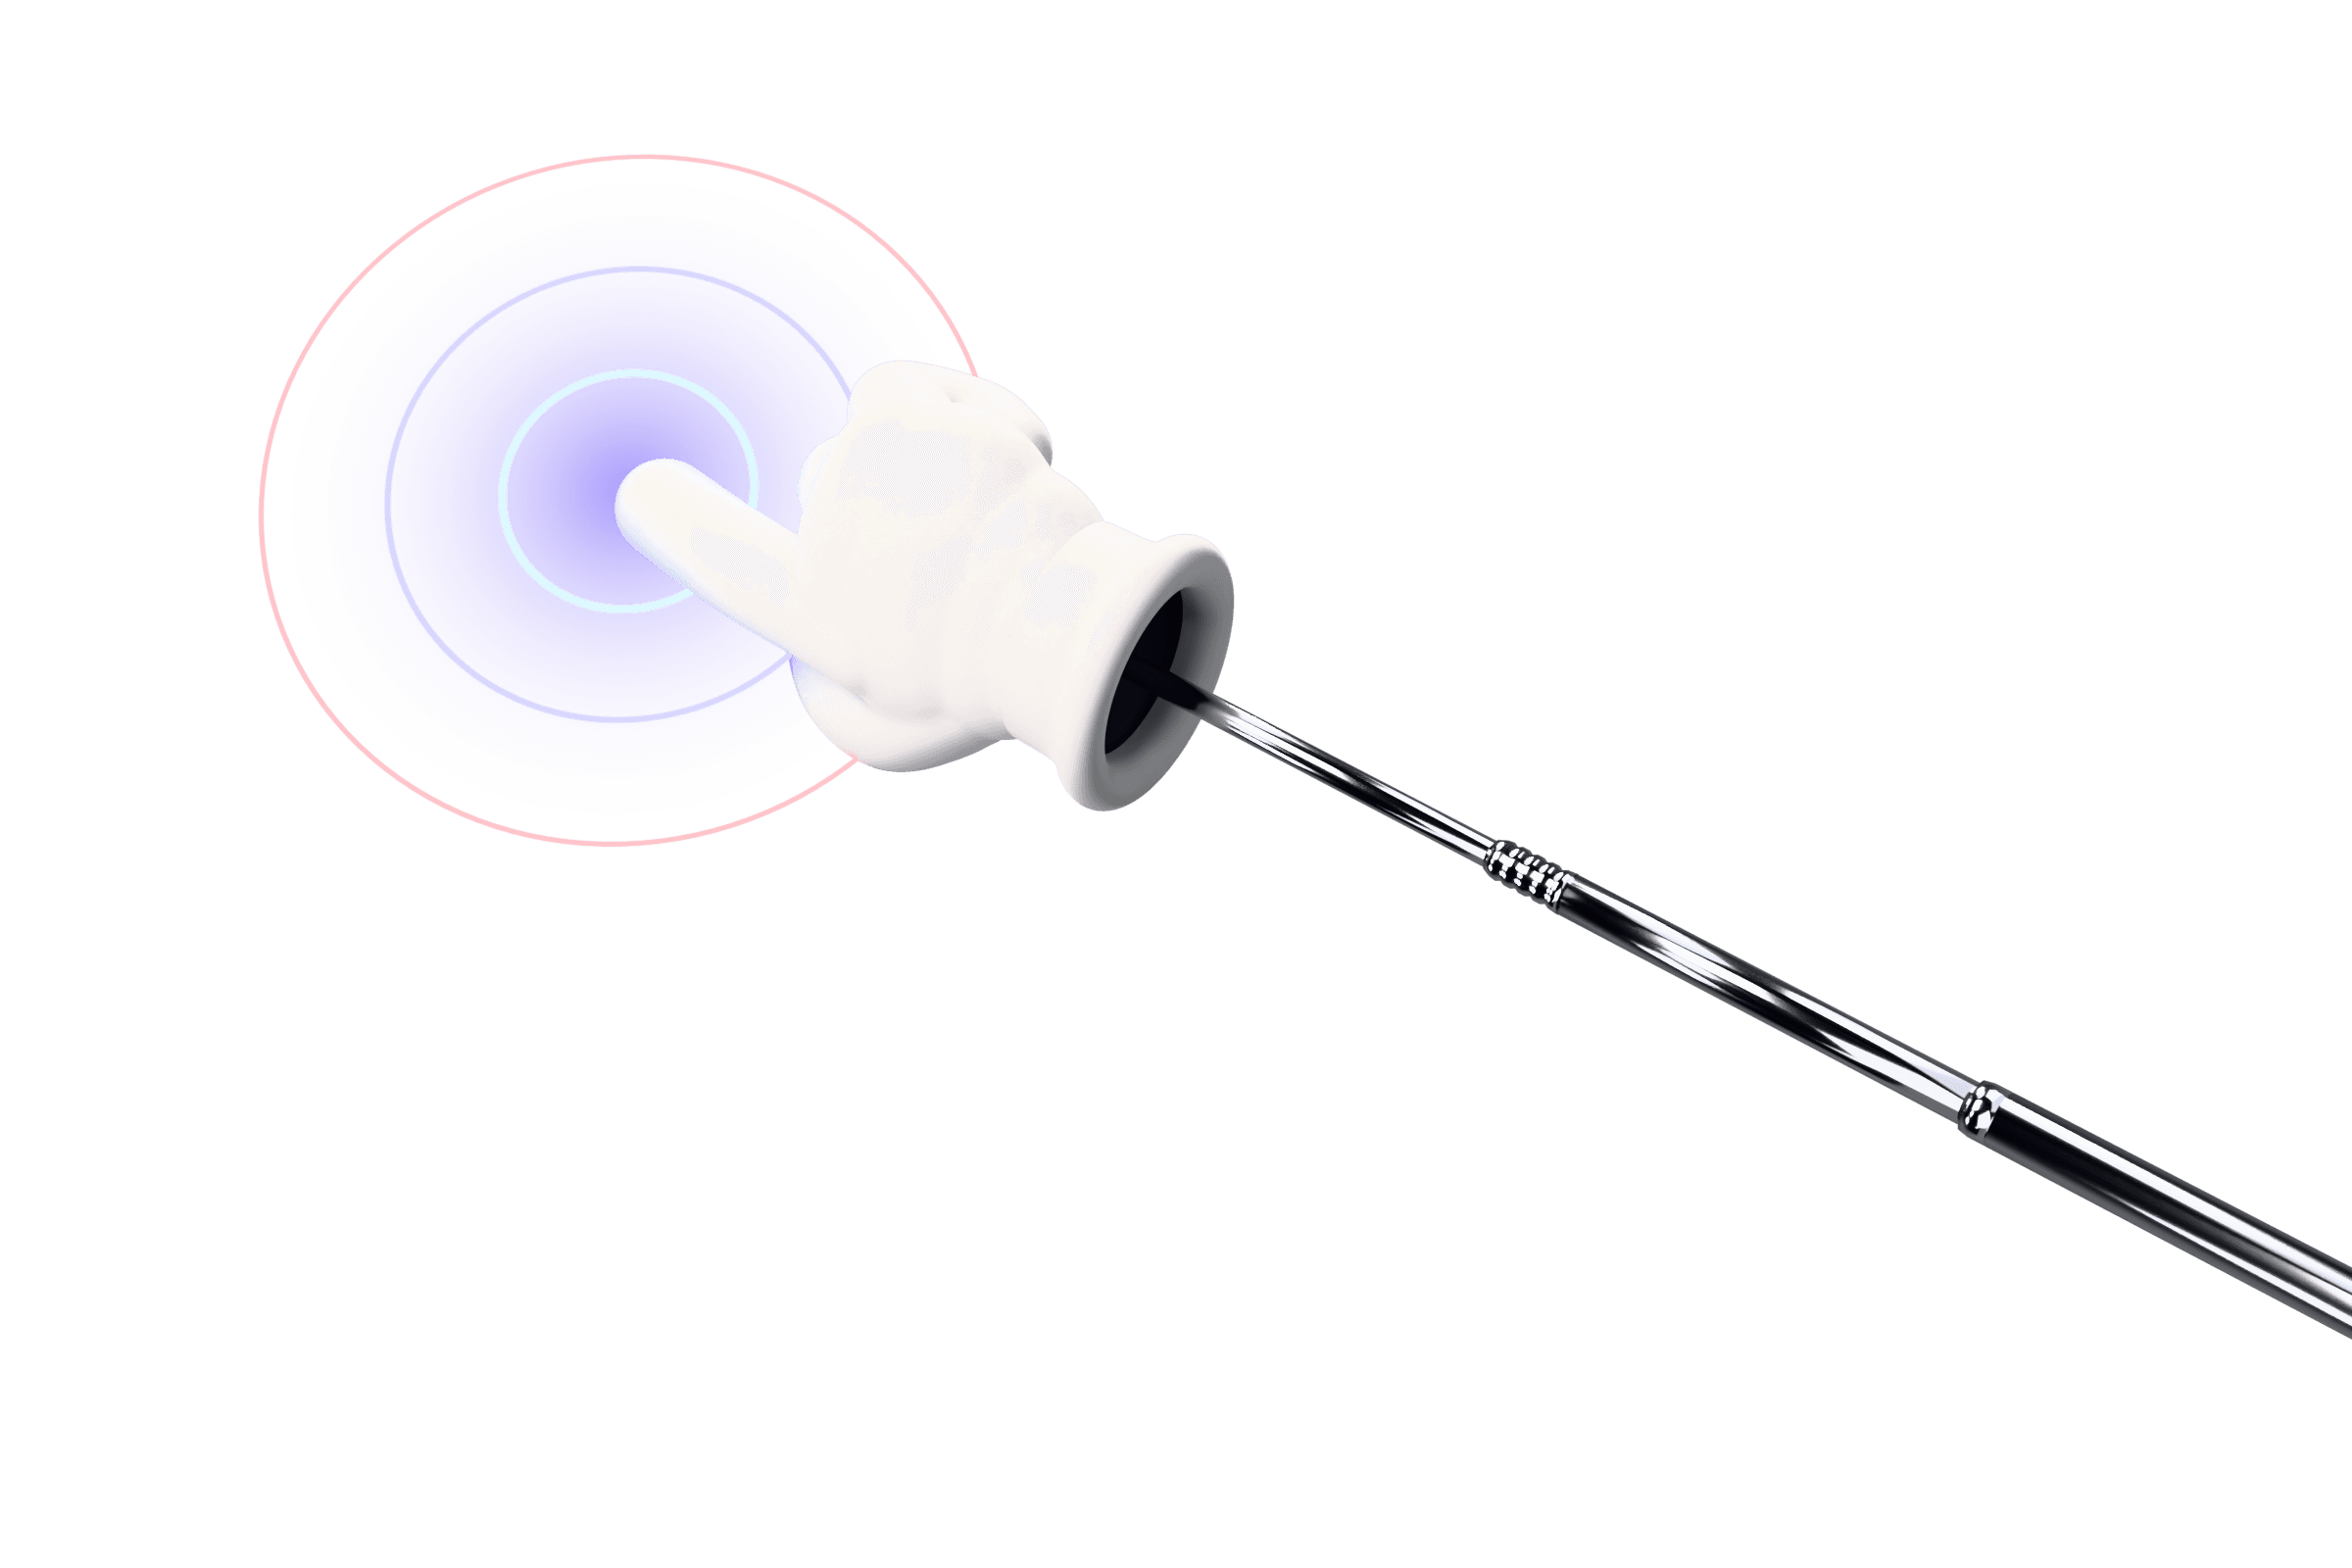
PointerStick (that's us) takes a different approach: instead of decorating the arrow, it replaces it with a 3D cartoon glove on a telescoping pointer stick while it's switched on. Clicks make the hand tap the screen with a sound and an impact effect, on every monitor, over every app. Press Ctrl + Alt + P to toggle it. The classic pointer is free; Premium ($12.99 once) adds every style plus screenshots and screen recording.
It's designed for moments when other people are watching your screen: talks, tutorials, streams and teaching.
Which option should you use?
| Method | Bigger pointer | Shows clicks | Click sound | Cost |
|---|---|---|---|---|
| Pointer size & color | Yes | No | No | Free |
| Ctrl to locate | No (on demand) | No | No | Free |
| PowerToys Mouse Highlighter | No | Yes | No | Free |
| Recorder cursor effects | Varies | Varies | Varies | Varies |
| PointerStick | Yes (a whole hand) | Yes (tap + effect) | Yes | Free; Premium $12.99 once |
For a deeper comparison of tools, see the best cursor highlighters for Windows, or how PointerStick compares with ZoomIt.