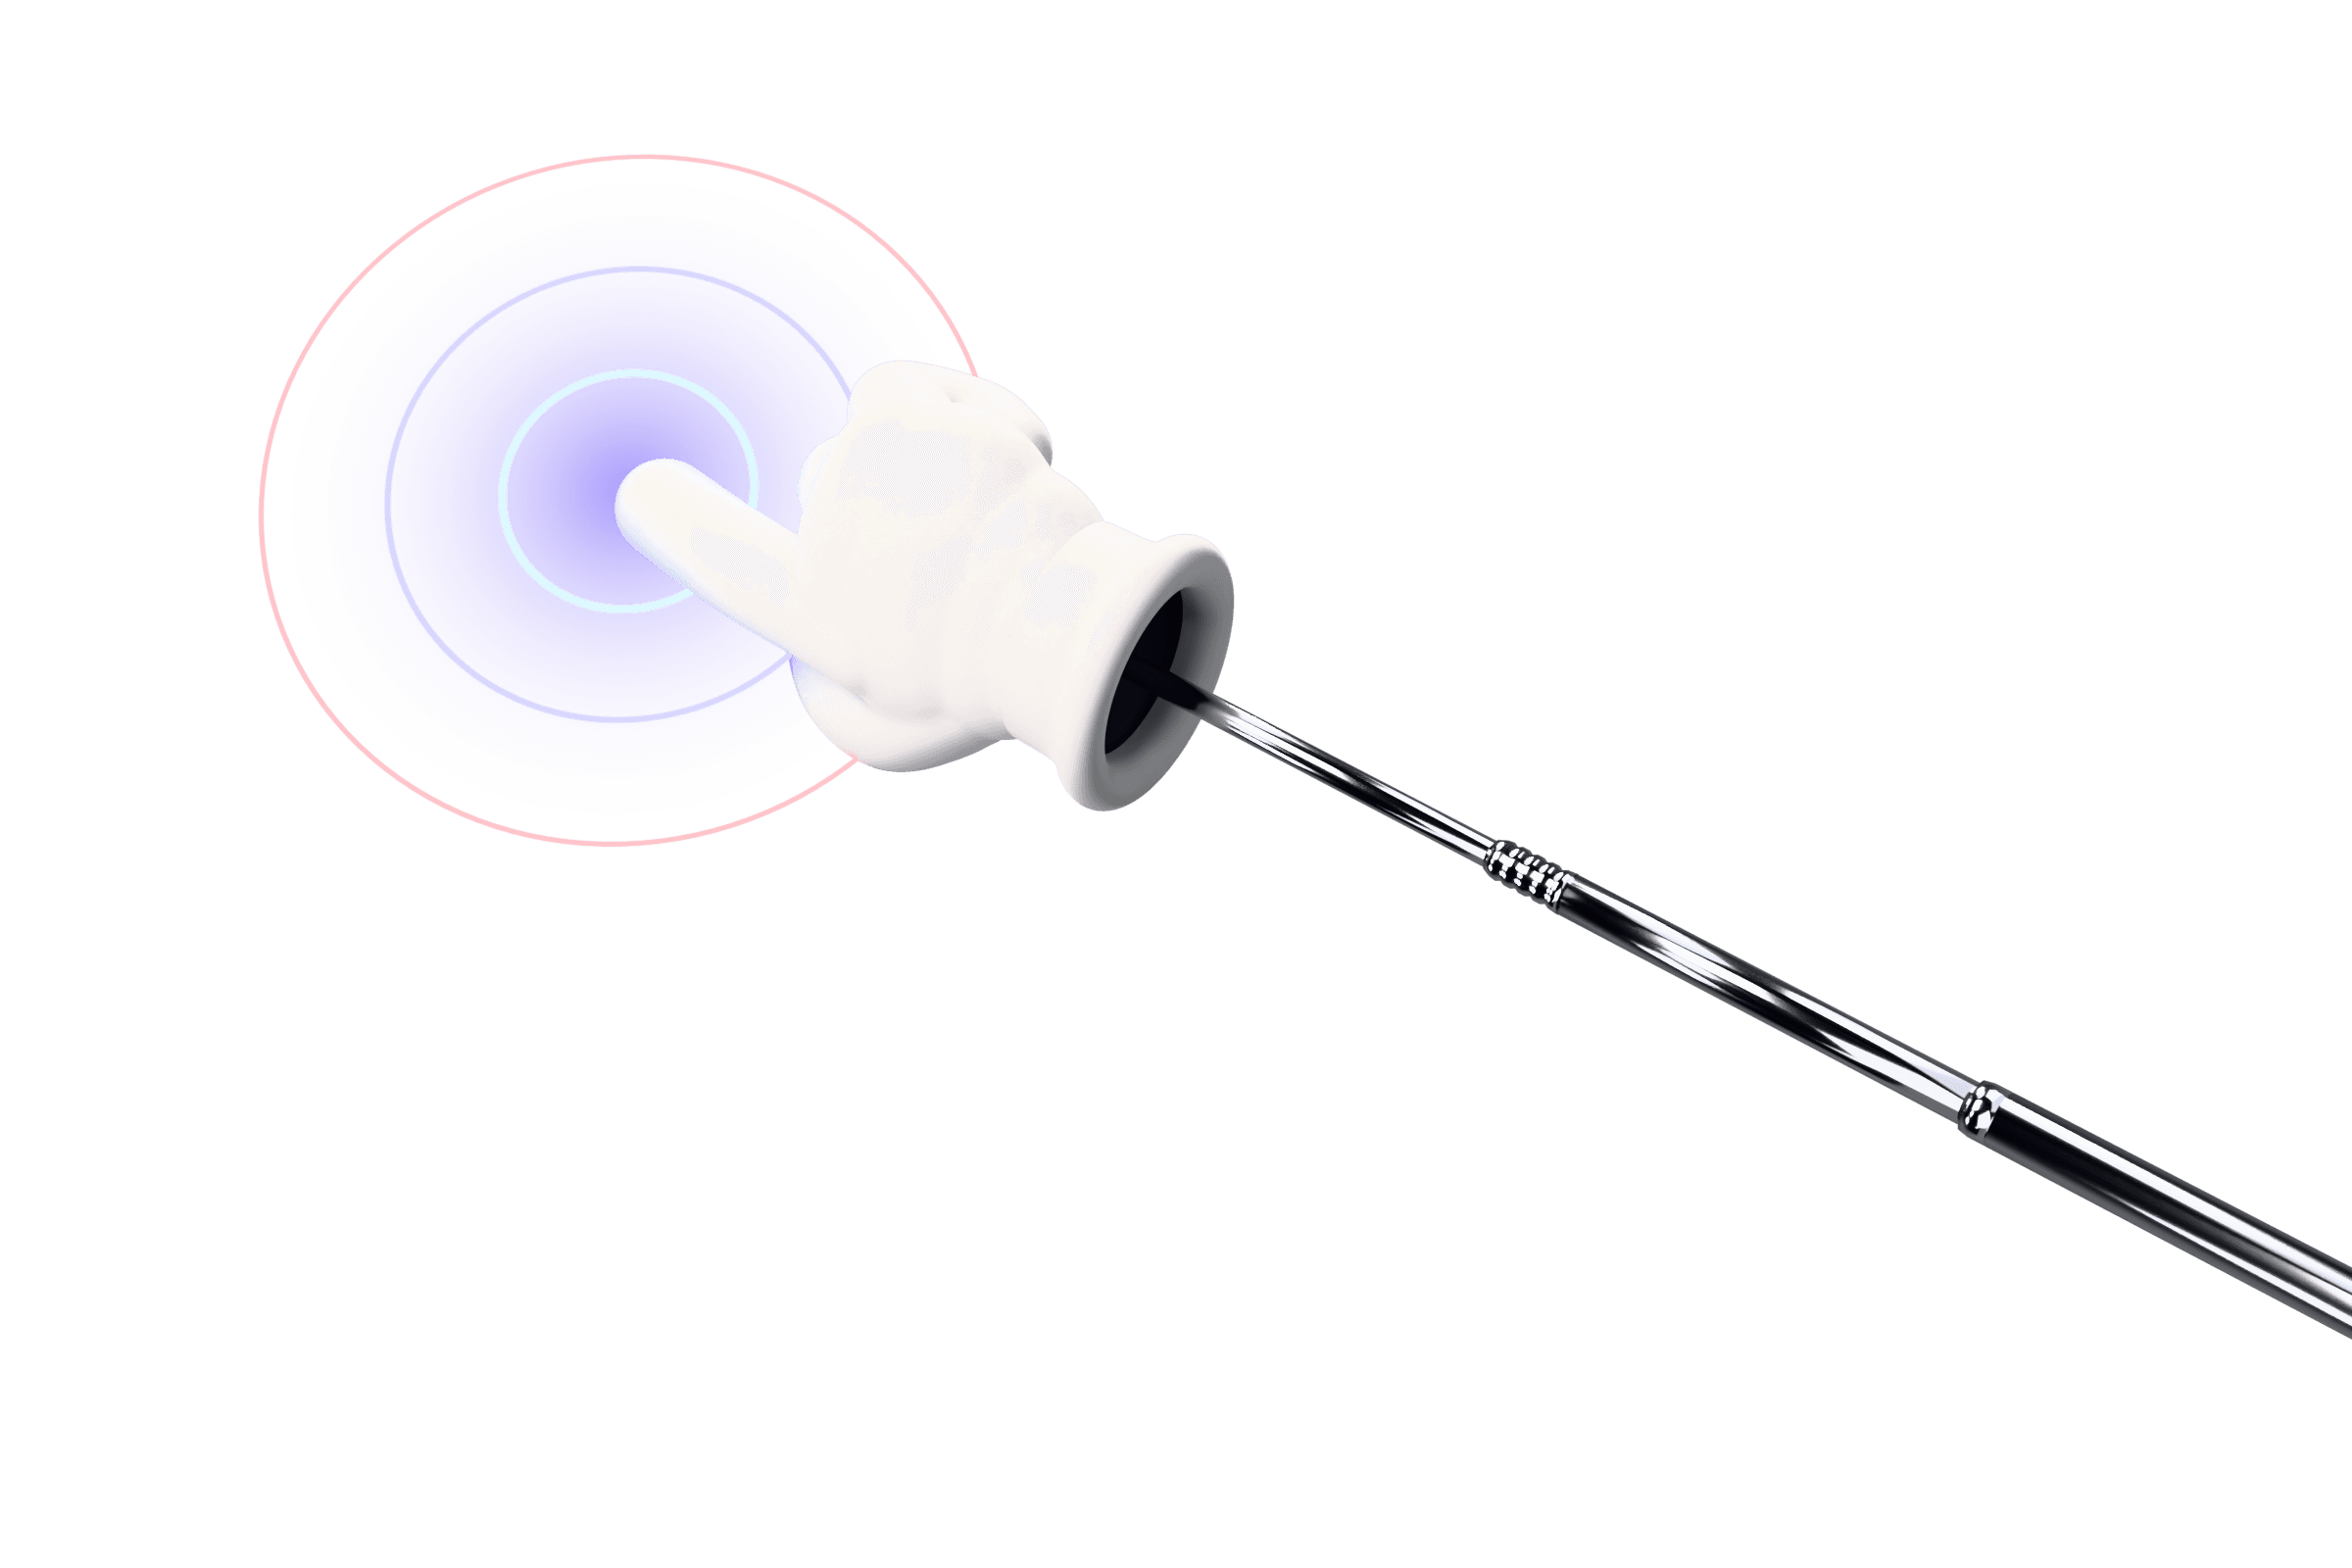
Why the default cursor doesn't work in videos
- It's tiny. A 32-pixel arrow on a 1440p recording, watched on a phone, is a speck.
- Clicks are invisible. A menu opens, but nothing shows what caused it.
- Compression smears it. Fast movement plus video compression turns a thin arrow into noise.
Option 1: a live highlighter plus any recorder
Tools that draw on top of your screen work with any recorder that captures the whole display. A common free combo is PowerToys Mouse Highlighter (draws a circle on every click, toggled by default with Win + Shift + H) together with OBS Studio using a Display Capture source, or the Windows 11 Snipping Tool in video mode.
One catch: recorders that capture a single window (like Xbox Game Bar, or OBS Window Capture) may leave out overlays drawn by other apps. Capture the full display or a screen region instead.
Option 2: add effects in an editor afterwards
Some screen recording editors record cursor data separately and let you enlarge the cursor, add a spotlight or add click animations after the fact. That gives you control per clip, but it means an editing pass for every video, and it only works inside that editor.
Option 3: record with PointerStick
PointerStick turns the cursor into a large 3D glove on a pointer stick. Each click pushes the hand into the screen with a ripple (or another effect) and an optional sound. With Premium, you can record right from the same app: press Ctrl + Alt + R, pick the monitor or drag a region, and the pointer and its taps are part of the video. A 3-2-1 countdown gives you time to get ready, and you can pause and resume. System audio is recorded by default; turn on the microphone (and an optional webcam bubble) if you're narrating.
When you stop, a small editor opens. Drag the start and end to trim, mark any section you want to cut (a typo, a long loading screen) and export an MP4, a smaller 720p MP4 for sharing, or a GIF for docs and bug reports. It's deliberately simple: no timeline layers, just trim and cut.
Settings that make the cursor easier to follow
- Pointer size: go bigger than feels natural. Viewers watch on smaller screens than yours.
- Click effect: pick something brief. A ripple or starburst reads clearly without hiding what you clicked.
- Trails: off for step-by-step tutorials, on for intros and streams.
- Click sound: helpful when viewers are listening, but mute it if you're adding music.
- Movement: move, pause, then click. Viewers need a beat to see where the pointer landed.
Which approach is right for you?
| Approach | Works live | Extra editing | Cost |
|---|---|---|---|
| PowerToys highlighter + OBS or Snipping Tool | Yes | Separate editor needed | Free |
| Editor-applied cursor effects | No | Yes, per video | Varies |
| PointerStick (pointer + recording + trim/cut) | Yes | Trim and cut built in | Pointer free; recording in Premium ($12.99 once) |
New to recording on Windows? Start with how to record your screen on Windows, which covers the built-in tools.